Let is snow! Let it SNOW!
Last year it snowed and melted before I had a chance to try this recipe out. This year I finally did and it was fun and tasty. Snow is in the forecast again so hopefully you will be able to try this out .
Make sure you have a nice work surface. If you don’t have a table like me, use a baking tray and pack some nice clean snow on it.
This recipe is easy because it only takes two ingredients; maple syrup and butter.

Heat up some maple syrup and butter in a sauce pan.

If you have a candy thermometer, use that. Otherwise heat on low for 5-10 minutes. You want the maple syrup to get to hard crack. I think I didn’t heat up mine hot enough but the candy was still tasty. As you are boiling the maple syrup, it will look lighter in color and will bubble a lot. Keep stirring to make sure it doesn’t burn.


Now comes the tricky part as you need to work fast before the candy hardens. Pour the candy onto the snow in little blobs.
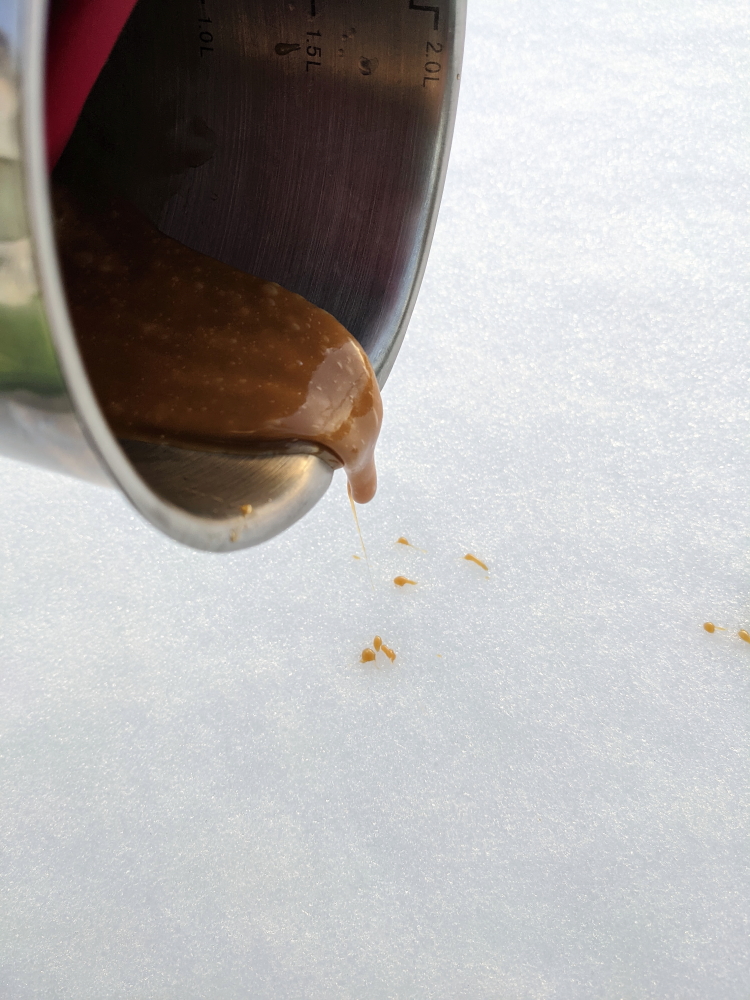
The candy will cool quickly and you can eat immediately. If you don’t think you can eat all of these at one time then, done make so much.

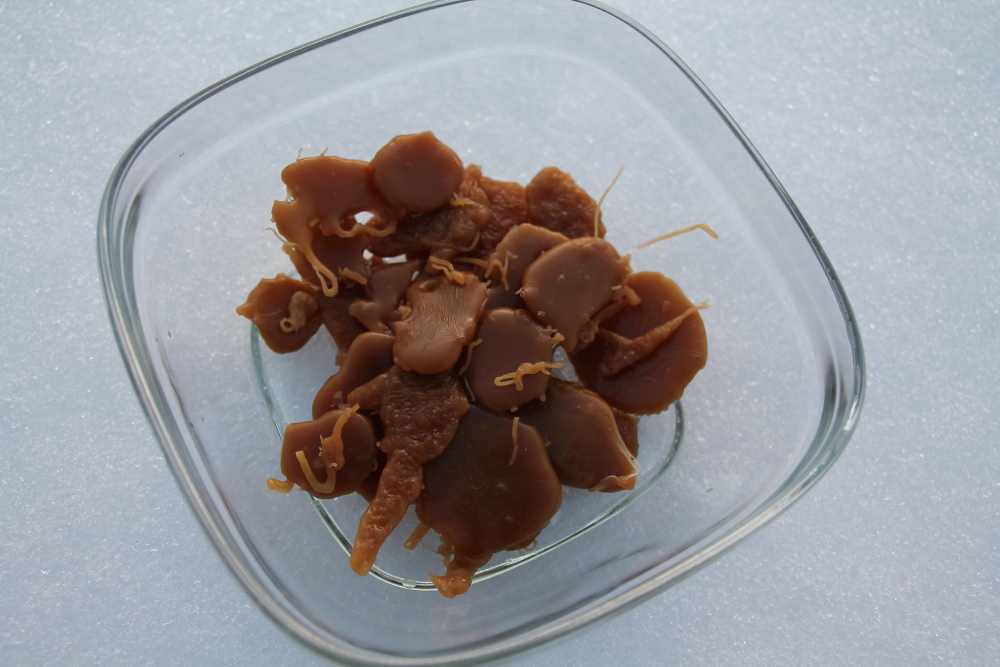
I did store extra in the fridge, but they turn a little tacky as the snow left them slightly damp. They tasted like caramel brittle and they stuck to my teeth a bit and didn’t snap as much as I wanted them too. But this definitely was fun and I want to try other recipes.
Snow Candy
- 1/2 cup maple syrup
- 1/8 cup butter
In a sauce pan, heat up the maple syrup and butter on low and allow to bubble. Simmer for 5-10 minutes or use a candy thermometer and heat to hard crack. You can test to see how hard the candy is by placing some on a plate to cool.
When ready, pour the candy onto the snow in little drops or any shape you desire. The candy should cool pretty quickly. Enjoy making these with your kids the next time it snows.
For more recipes: https://eatitnoworeatitlater.com/


One Comment Add yours