
I recently got a Romertop clay baker from my mom. What is a clay baker?? Clay bakers can be used for slow cooked meals. Normally clay bakers need to be soaked for 15 minutes before baking in the oven. They trap the moist air and help make the food cook at a consistent temperature.
I’ve heard of baking bread in a clay baker and also a cast iron pot. I thought since I now have both why don’t I try to have a cook off!! Romertop Clay Baker vs Le Creuset Cast Iron.
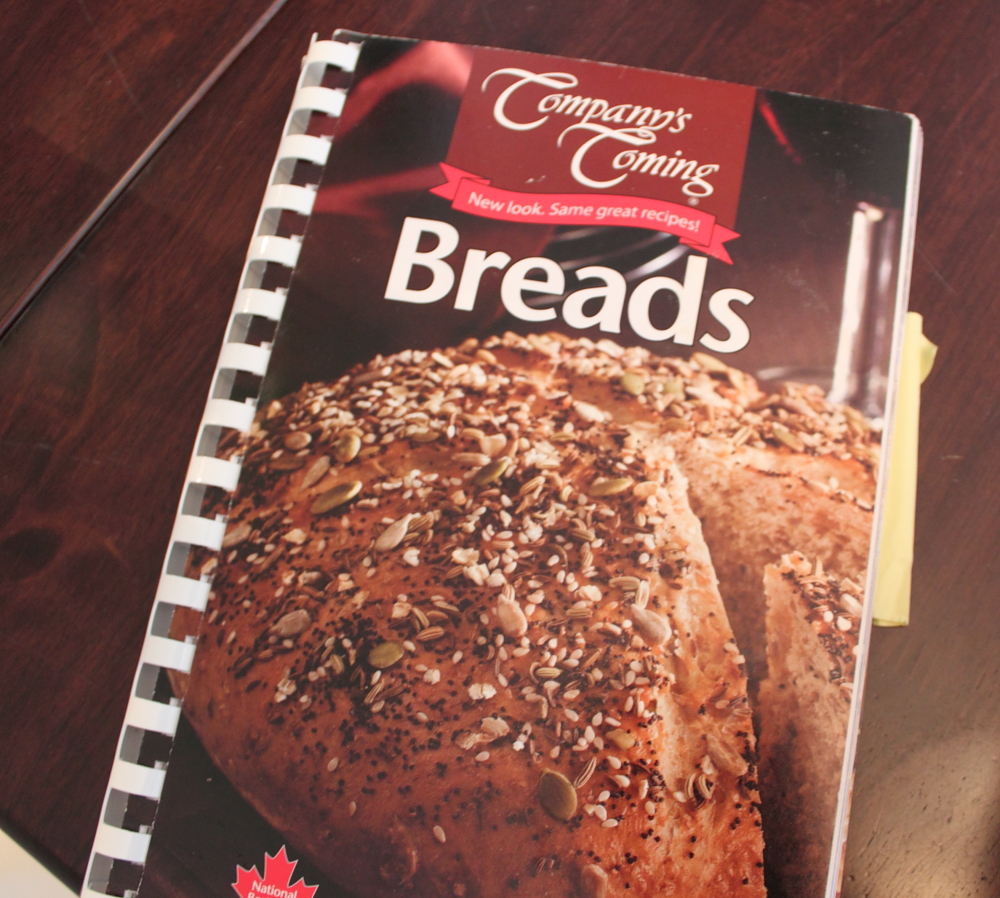
To begin this challenge I chose a simple sourdough recipe from Company’s Coming “Breads” cook book.

Even though I said simple, this recipe did still take a couple of hours and you will need to feed your sour dough starter the night before. My starter had been growing and growing and I had a lot more than a cup. I decided to use it all anyways since I didn’t like to waste any.

The other difference with this recipe was that it used bread yeast. Some recipes don’t need yeast because your sour dough starter would have enough yeast to create its own air bubbles. This recipe has a shorter resting time which does not allow the sour dough starter to grow as much and also doesn’t get a nice sour taste.
To activate your bread yeast, make sure you use warm water and dissolve the sugar in that. The sugar and warmth will get the yeast growing and creating gas!! After 10 minutes you get a nice layer of foam and a delicious smelling mixture!


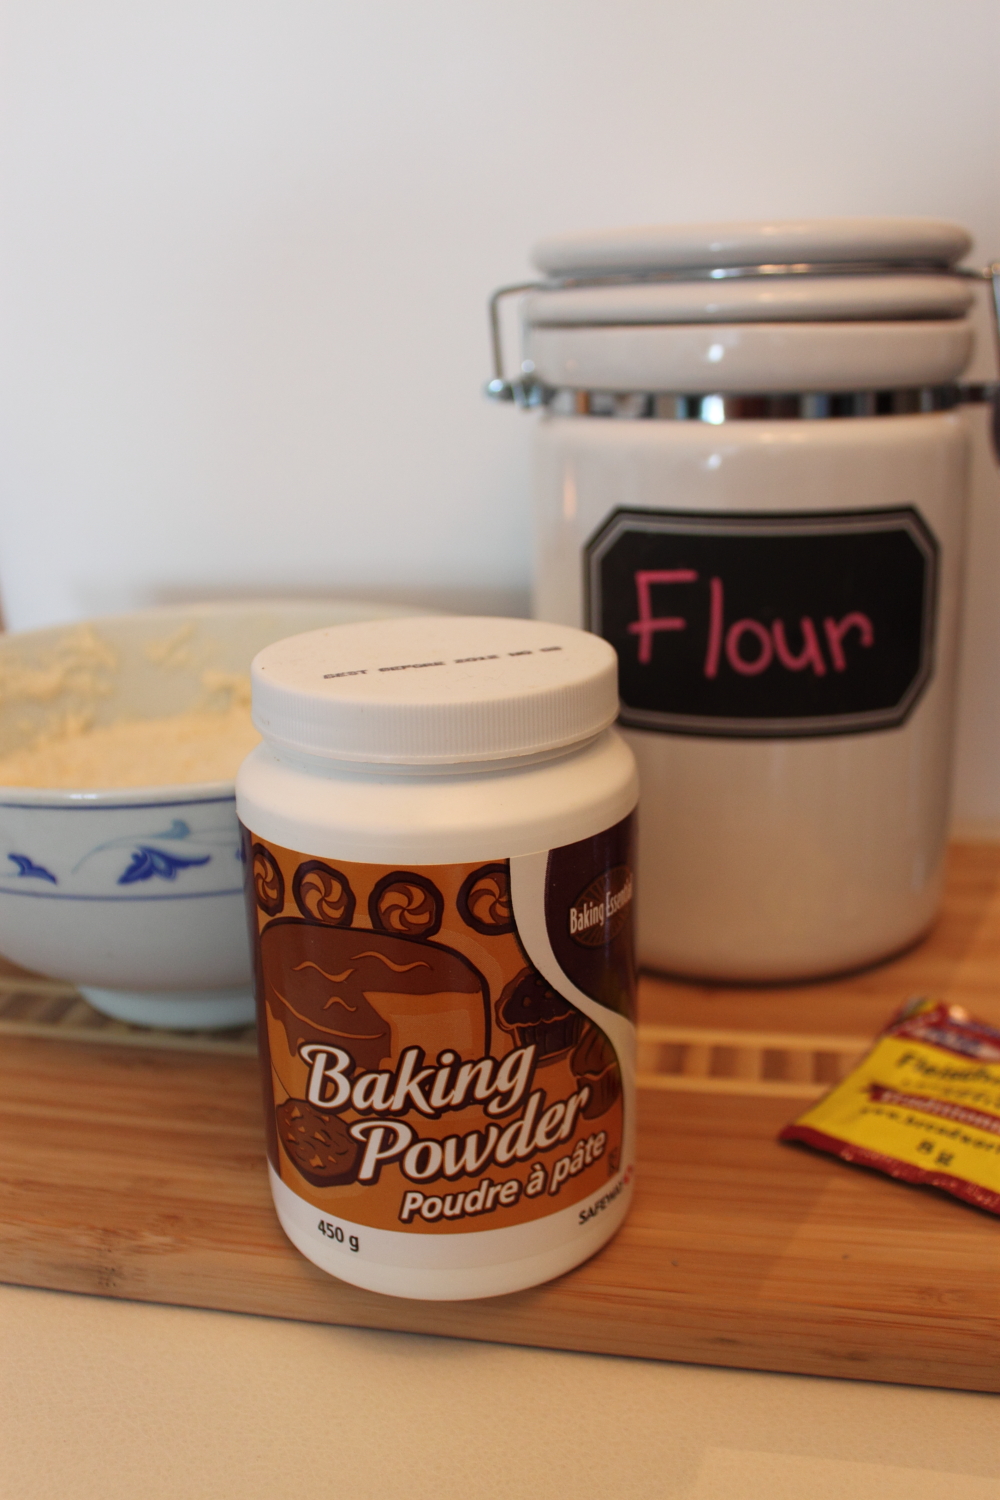
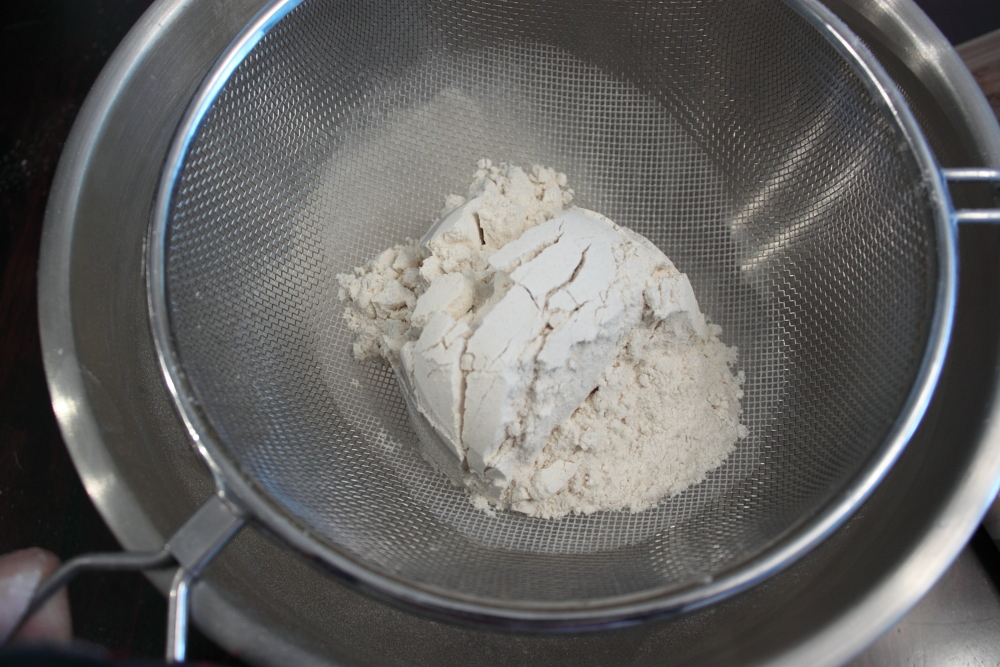
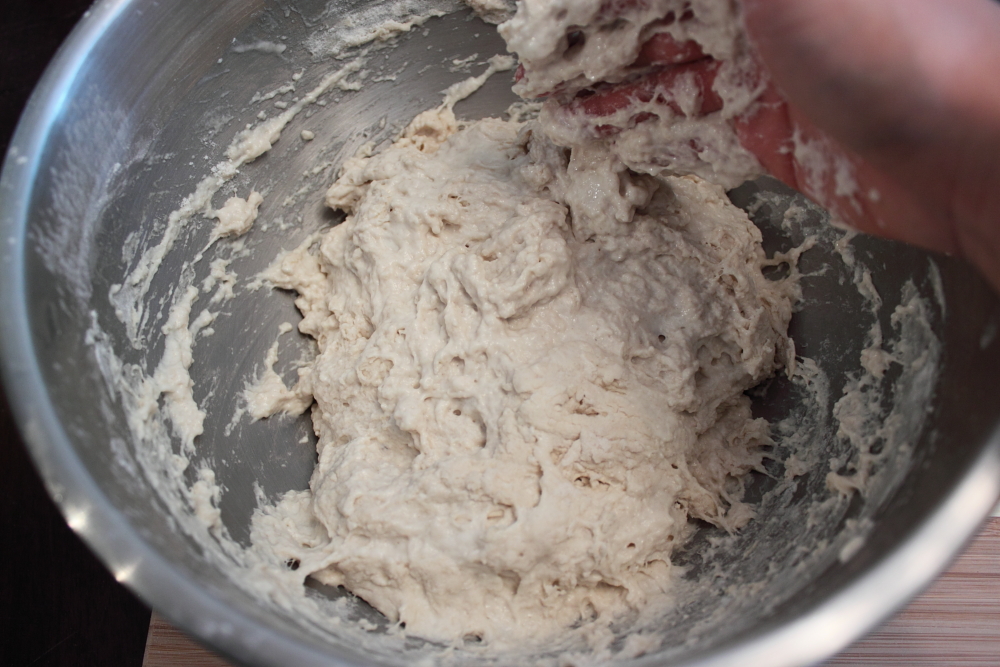
Shift the flour, salt and baking soda in a large mixing bowl. This prevents any lumps of flour in your dough. Add the yeast and sour dough starter.


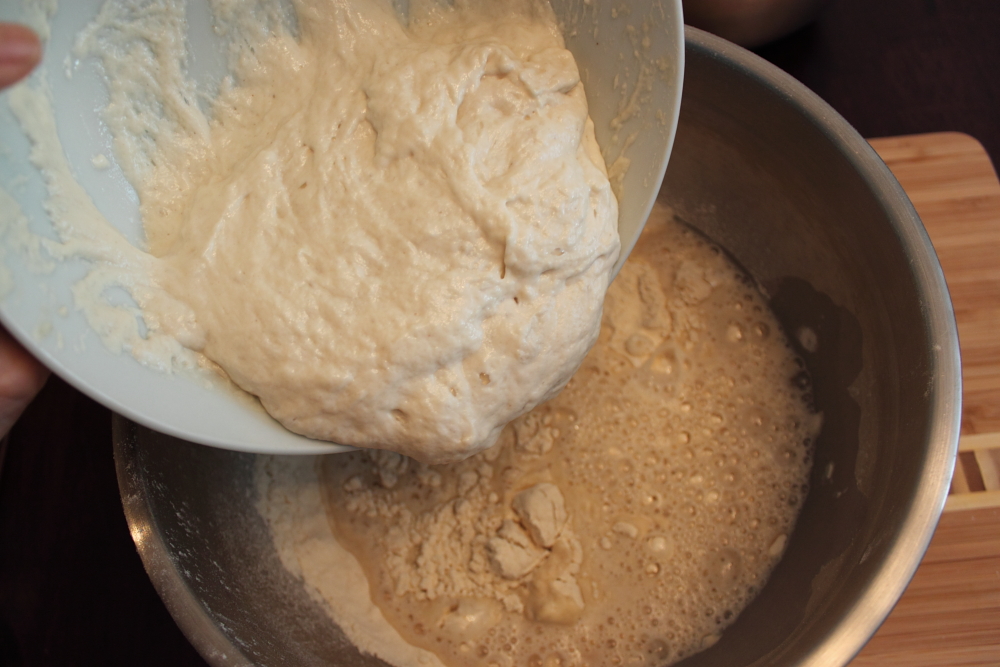
Mix all the ingredients together. The dough will be a bit gooey to start but keep adding flour until the dough pulls from the side.
Put the dough on a well floured board. To prevent the board from slipping when you knead your dough, add a damp cloth underneath the board.
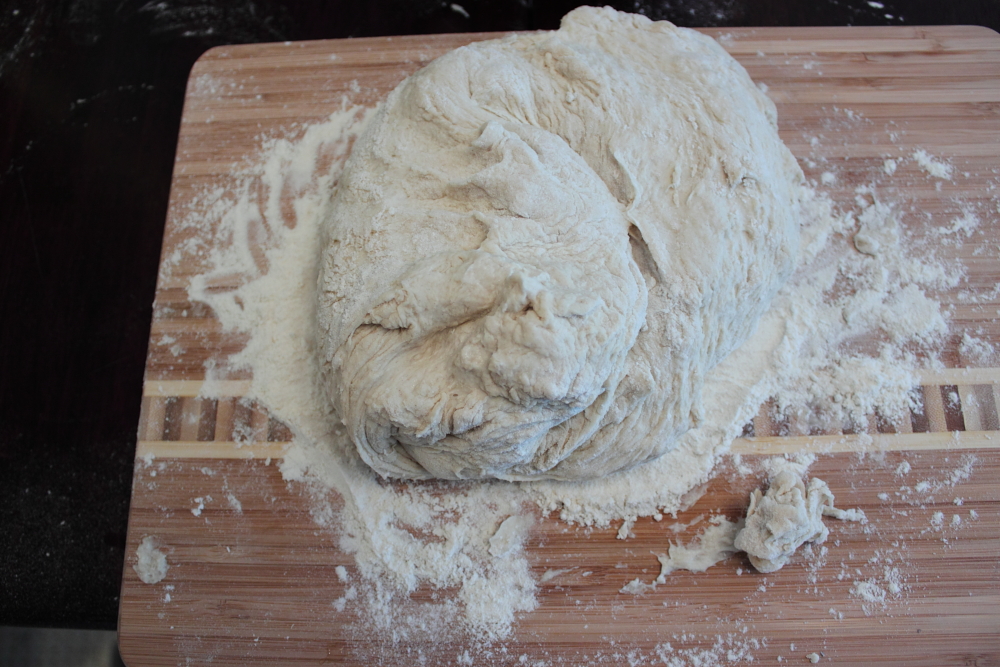
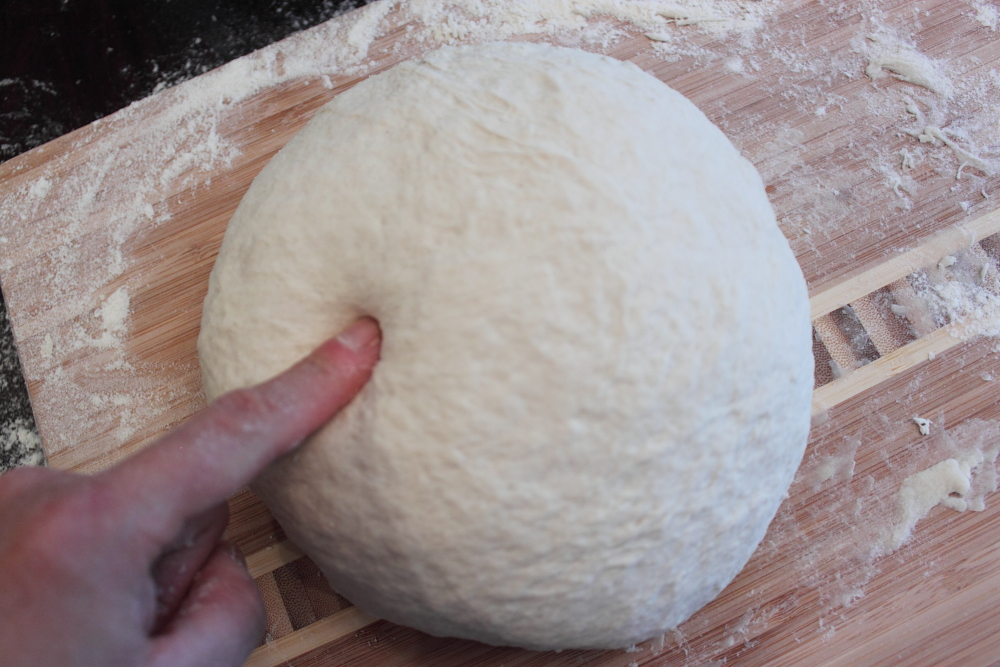
Now comes the fun part!! Roll your sleeves up and get kneading! You want to knead the dough for about 8-10 minutes. This helps create the gluten found in bread. The dough can be still a little sticky after kneading. I find the stickier the dough the bigger the air pockets. Poke the dough to see if it springs back. You know its ready when the dough dimple you make disappears.
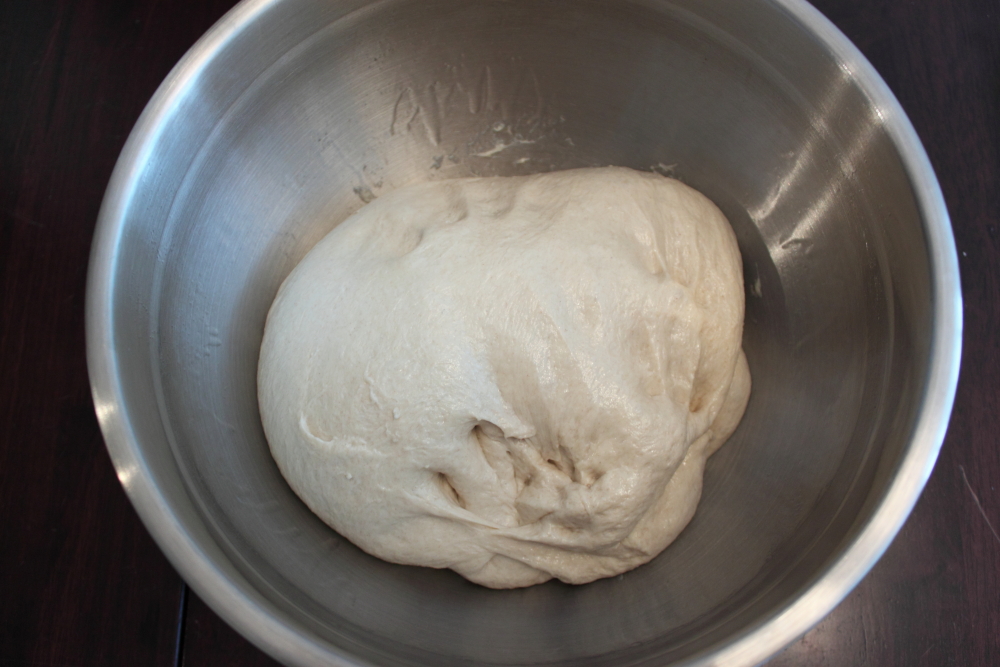
Place the dough in a well oiled bowl. Flip the dough in the bowl to coat the outside of it. You want to make sure the outside of the dough is flexible enough to expand.

Place the dough in the oven with the light on. The light will provide enough heat to help make the bread grow big. You notice I have two bowls?? The one on the right was started before the other bowl.

About an hour and a half in the oven, both doughs have risen to double its bulk. As I take one bowl out of the oven, I notice that there is a strange growth! It was a gas bubble!!! I watched it grow and then burst. You know the dough will make nice fluffy bread!

Punch the dough down. Place the dough in a parchment lined bowl.
Parchment makes it easier for the dough to get transferred to the clay baker or cast iron pot.

Leave the dough to rise again for another hour. I let the dough rise on the oven while I preheat it. Notice how it doubled in size again!

While waiting for the dough to rise you want to heat up both containers. Heat the oven to 400 degrees F and place both the cast iron pot and clay baker in the oven. You want the containers to be hot so that you can get a nice crust formed on your bread.
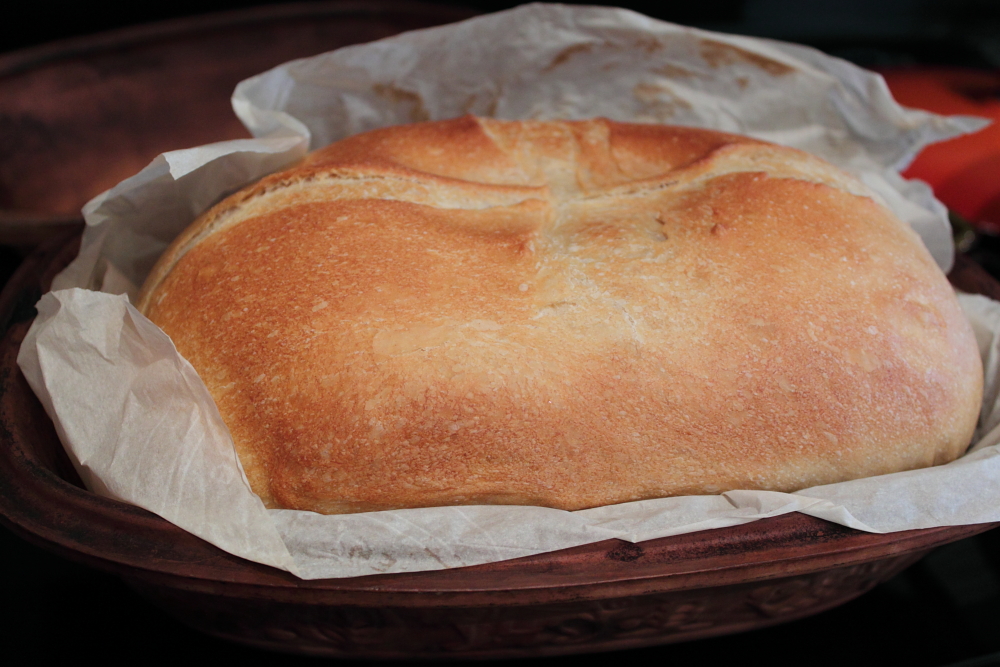
After an hour of resting and when your containers are hot enough, carefully lift the parchment (and dough) and slowly place it in the hot container. Quickly mist the top of the bread and the lid of the container with water, cover and place it in the oven. As the water dries, it creates a skin which is the start of a nice crust. I also like to give my bread a bit of a score. Today I decided to create a cross.


Bake in the oven for 30-35 minutes or when a thermometer (stuck in the centre of the bread) reads approximately 200-210 degrees F. Be sure to poke in a discreet area. You don’t want holes to ruin the look of your loaves.
The loaves turned out beautifully!! But which bread turned out better?? The colour and crusts were about the same. The shape slightly different. Verdict: there is no clear winner. Both breads turned out really well so I couldn’t decide. What do you think?


Sourdough Bread (from Company’s Coming “Breads”)
2 tsp sugar
1 1/2 cups warm water
1 x 8 grams active dry yeast
2 1/2 cups all-purpose flour
2 tsp salt
1/2 tsp baking soda
1 cup sourdough starter
3 cups all-purpose flour
Butter or hard margarine for brushing tops
Directions
Stir sugar in warm water in large bowl. Sprinkle yeast over top. Let stand 10 minutes. Stir to
dissolve yeast.
Add next 4 ingredients. Mix well.
Work in enough remaining flour until dough pulls away from sides of bowl. Turn out onto floured
surface. Knead 8 to 10 minutes until smooth and elastic. Place in greased bowl, turning once to grease top. Cover with tea towel. Let stand in oven with light on and door closed for 1 to 1 1/2 hours until doubled in bulk. Punch dough down. Divide in half. Cover with a tea towel. Let rest on counter for 10 minutes. Shape into round loaves. Place on greased baking sheet. Cover with tea towel. Let stand in oven with light on and door closed for about 1 hour until almost doubled in size. Bake in 400 degree F oven for 30-35 minutes. Turn out onto racks to cool.
Brush with butter. Makes 2 loaves.
Check out other recipes on our blog https://eatitnoworeatitlater.com/recipe-list/


Clay Baker vs Cast Iron
I find I get a thinner crispier crust with a clay baker.
If you like a darker and more even crust, try the following:
Clay baker – Do not pre-soak the clay baker. Starting in a cold oven, preheat clay baker to 500F (Takes approximately 30 min). Do not spray bread with water. Bake bread in “covered” clay baker for 30 minutes. Reduce temperature to 425 F. Remove the cover. Bake bread “uncovered” for another 10-15 minutes until bread is nicely brown and reaches an internal temperature of 204 F.
Cast Iron: Preheat cast iron pot to 500F. Do not spray bread with water. Reduce oven temperature to 425 F. Bake bread in “covered” cast iron for 30 minutes. Reduce temperature to 400 F. Remove cover. Bake bread “uncovered” for another 10-15 minutes or until bread is nicely browned and reaches an internal temperature of 204 F.
I find the cast iron and clay bake differently and at different temperatures and so I don’t put them in the oven at the same time. I don’t spray my bread with water as this can prevent it from achieving a crispy crust.
Una
Thanks Una. I’ll continue to experiment with making bread!!