
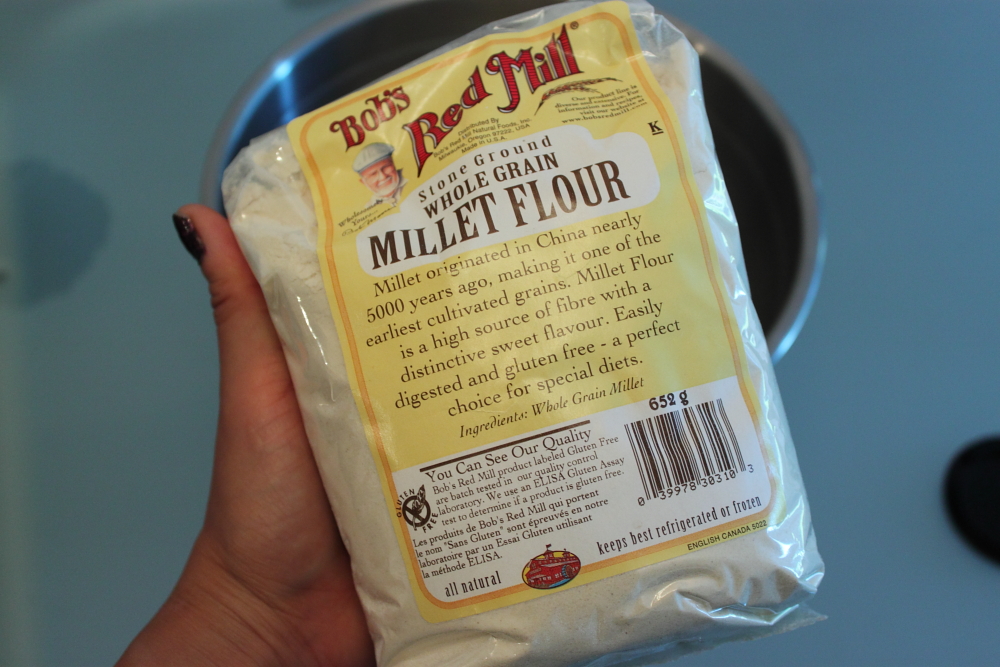
For my second attempt at making sour dough, I decided to use some flours I had in my pantry. At one point, I was making, creating and trying a bunch of gluten free recipes. Both my aunt and younger sister was not eating any gluten. It was probably the toughest period of time experimenting on food. Since then, I had a range of gluten free flours on hand. White rice flour, brown rice flour, millet flour and almond flour you name it, I probably had it. Of course these flours don’t last forever and do expire so I decided to use them up before then.
I came across this recipe for sourdough millet rye bread and thought what a lovely way to use the millet flour!! I was hesitant since millet does get a bit bitter but I tried it anyways.


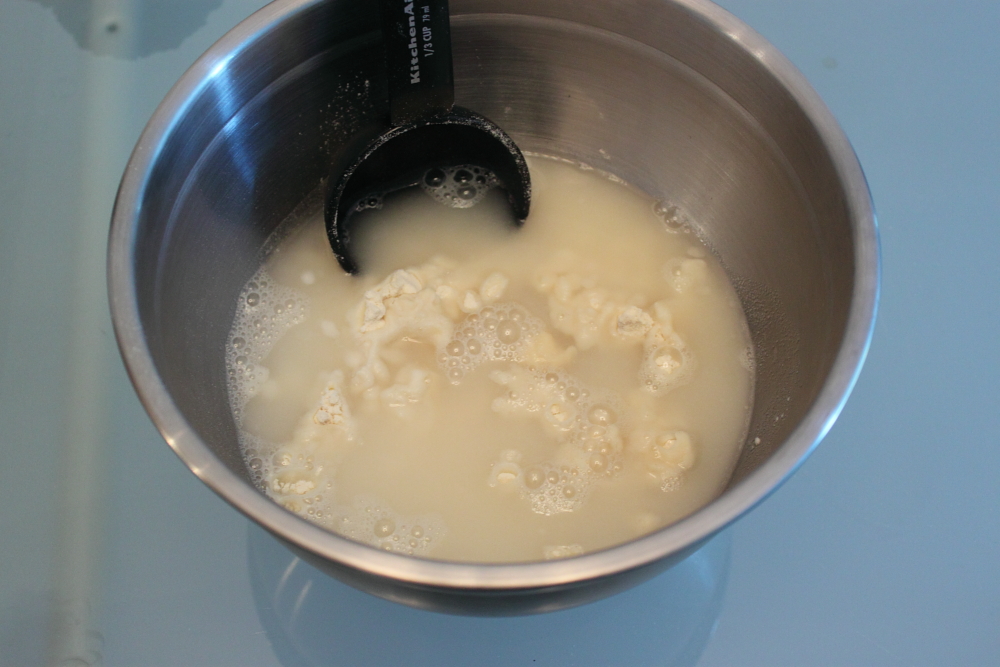
To start the recipe, make sure to feed your sourdough starter twice. This recipe asks for 30g of sourdough starter which is about 2 tablespoons mixed with water and flour. You would need to let this sit overnight to get the sourdough to activate. They only get you to activate it once but I like to activate it twice. I used about 1 cup of sour dough starter after 2 risings.

The other thing to do the night before is to soak the millet. The recipe asks for 200g of millet flour soaked in 600g of boiling water. That is 1 3/4 cups of millet flour mixed with about 2 1/2 cups water.
The next day I left for work and hoped that the sour dough starter had risen and that I would get nice fluffy bread. When I got home, this is what I found!!!
 So in other words, yes my sour dough starter had risen but I did not put it in a big enough container. Oops! (Note to future self: please put sour dough starter on a plate in case of overflow).
I stirred the millet mixture and it looked like the flour had absorbed all the water and it had become a paste.

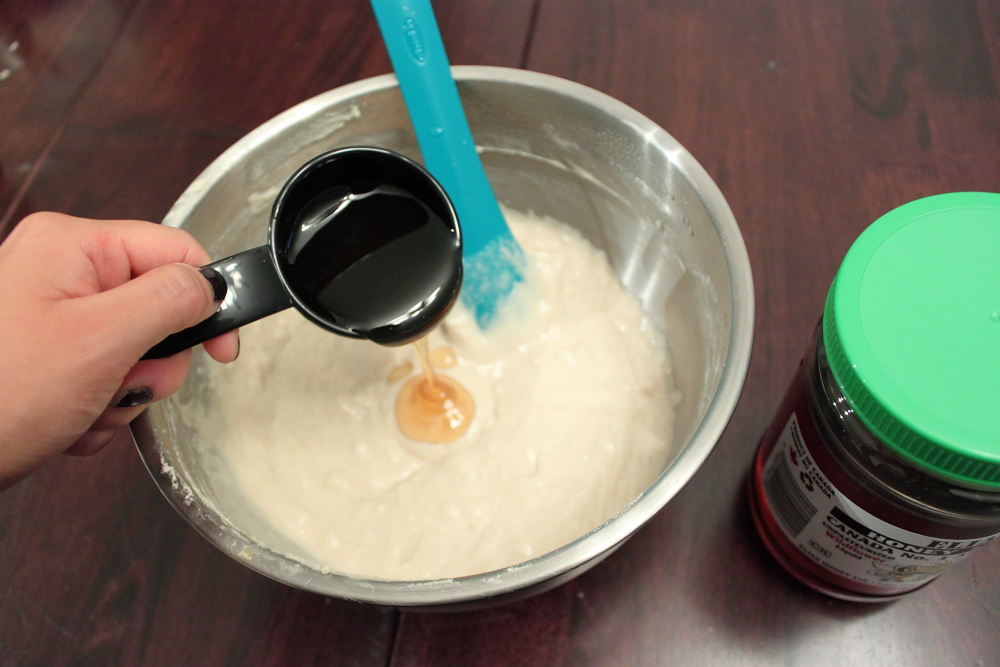
Mix the sour dough starter with the millet and add honey (about 1/4 cup). I omitted the nutmeg for my recipe.

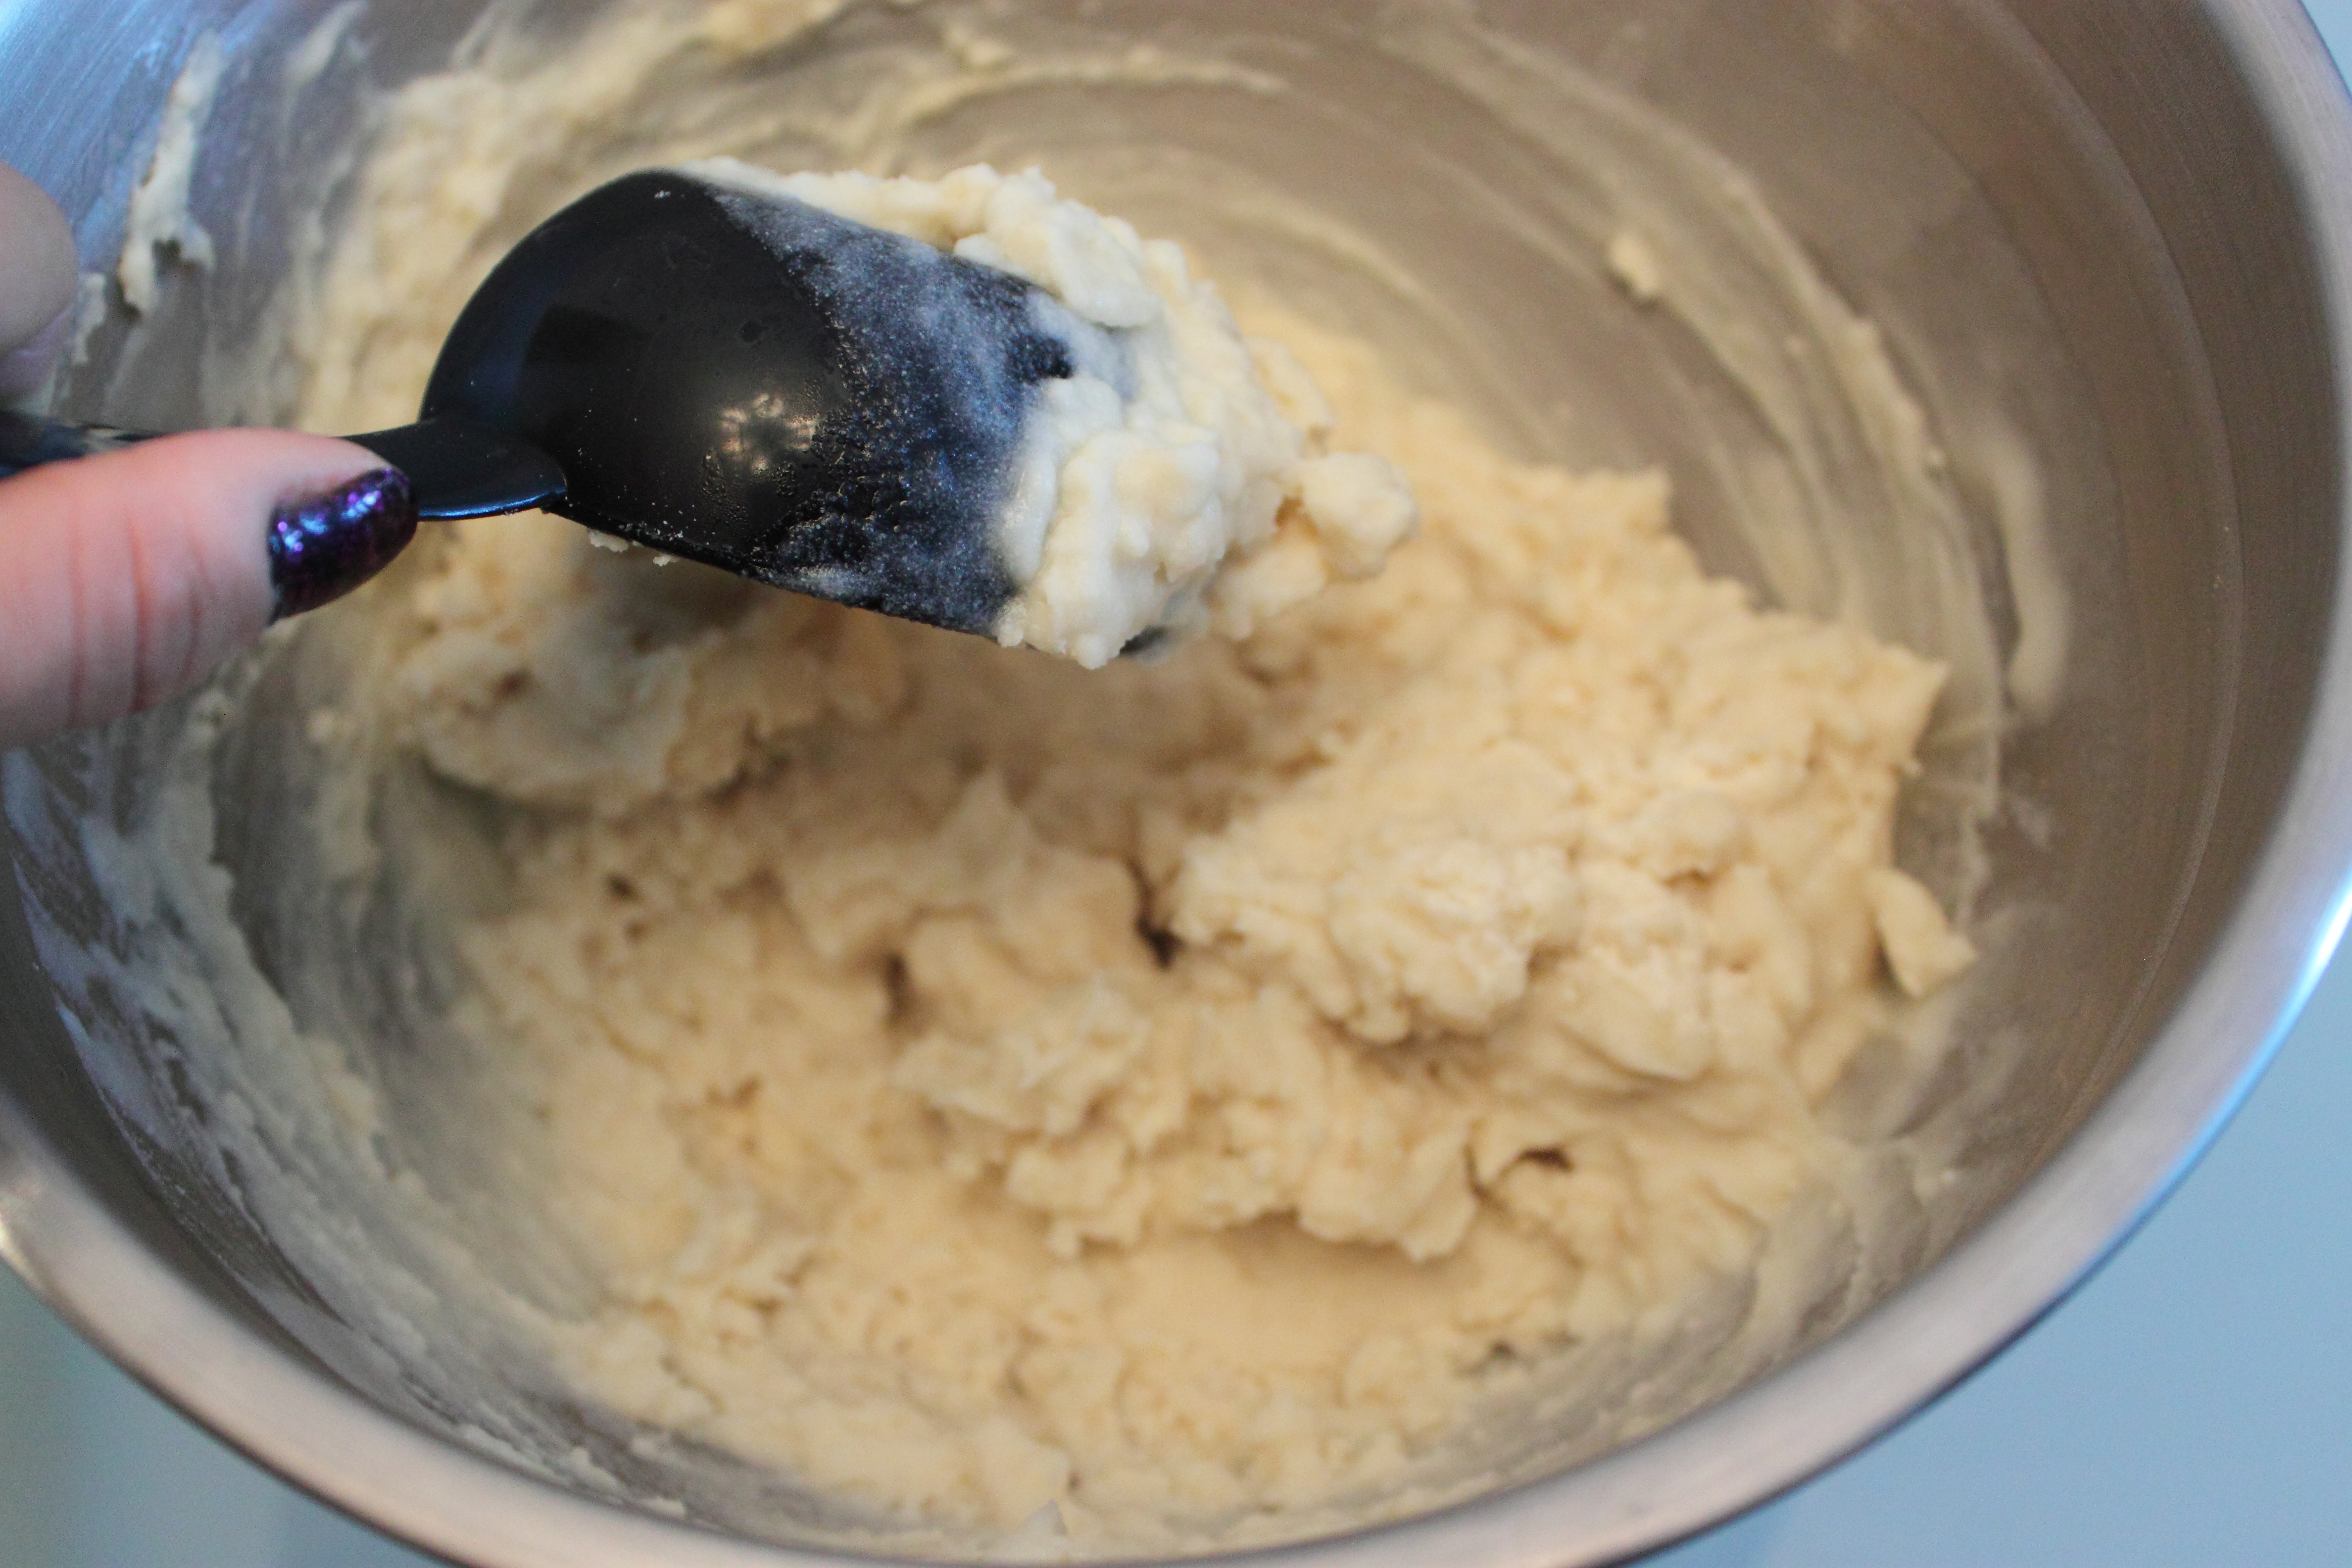
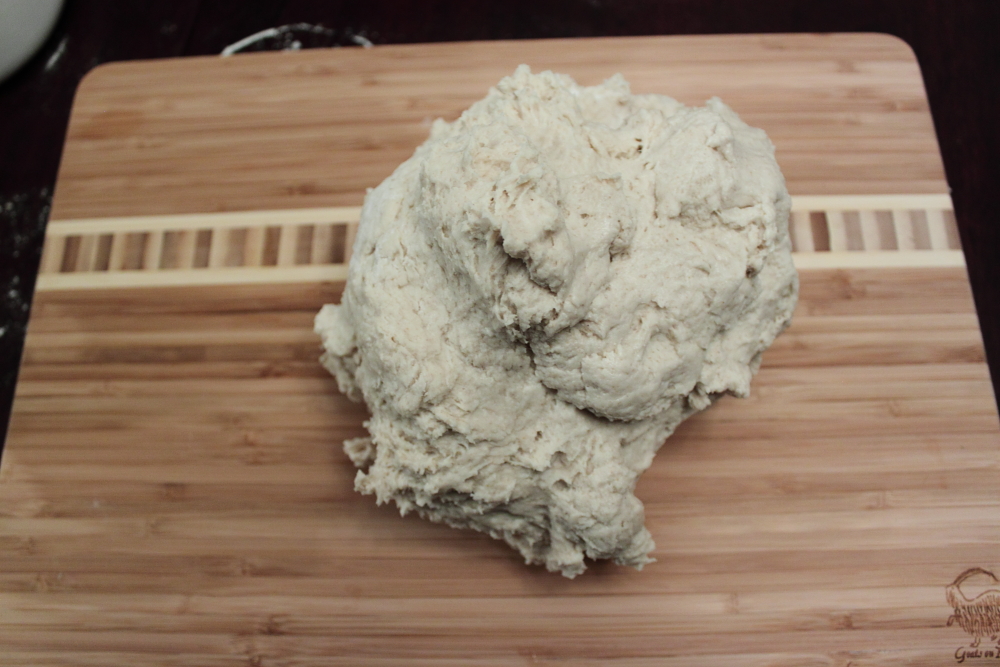
Mix in the flour until it becomes a nice not that sticky ball of dough. Depending on the weather, sometimes you may need to add more flour or sometimes less. Flour tends to absorb water and most bakers (not all because I don’t) use a scale to make it less of a guessing game.


Once the flour has been incorporated, turn it onto a cutting board. Make sure you put some flour on the cutting board so that the dough doesn’t stick when you knead. I also like to place a damp cloth under the board to prevent it from slipping.
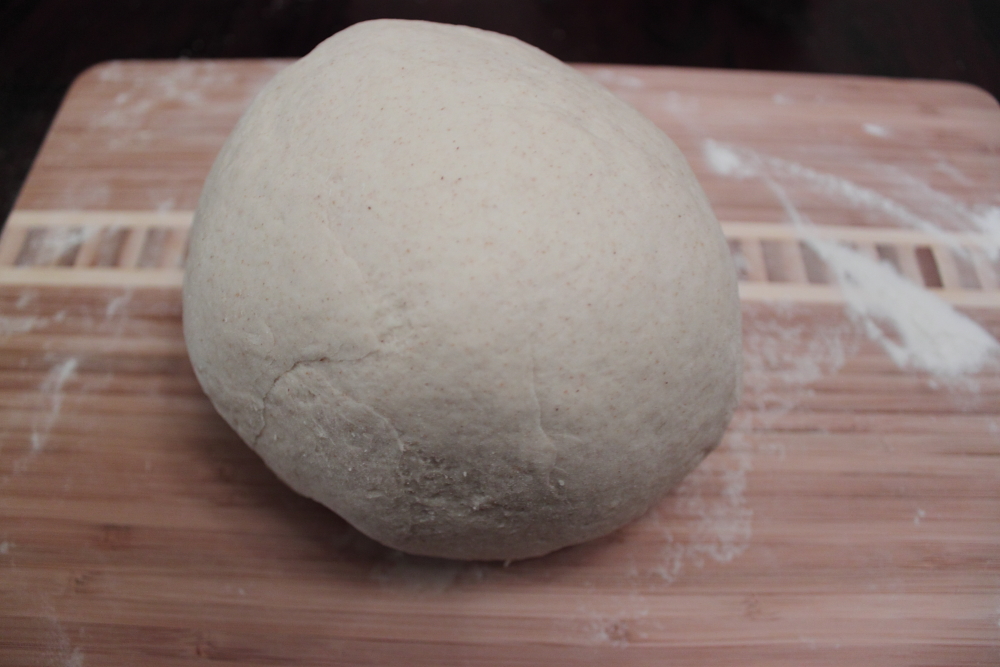
Knead the dough for 10 minutes. The kneading will make the bread elastic and help trap the air bubbles as the bread bakes.

You notice that the dough will slowly get smoother. Keep adding a bit of flour to the board to prevent the dough from sticking.

Add 25 g salt and knead for another 5 minutes.
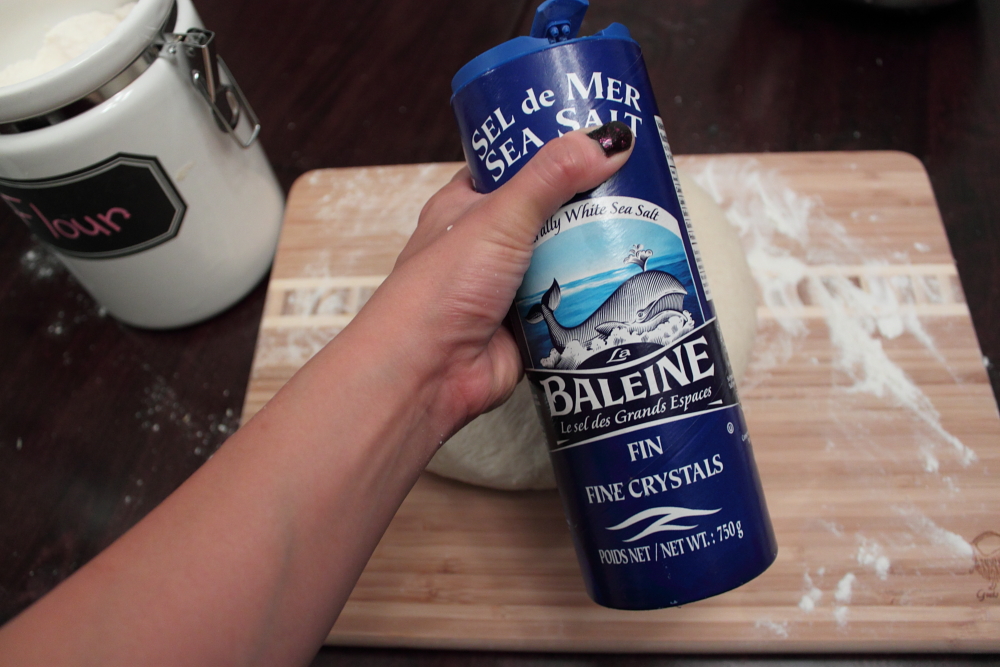
The salt should be well mixed.

Now you want the bread to rest and rise. Its important to do this step so the sour dough starts creating bubbles. To prevent the dough from drying out, cover the bowl with a damp tea towel. After about 1 hour, you should see the dough has risen.
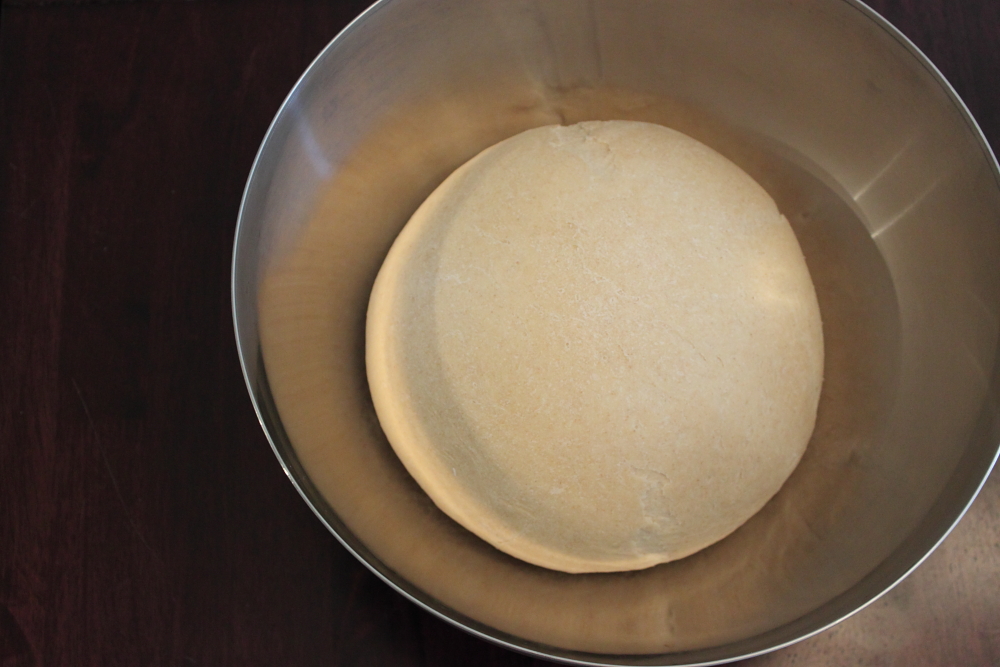
Leave it in the fridge to rise overnight. The lower the temperature, the longer it will take the sour dough to develop its distinct flavour.

After leaving it overnight, split the dough in quarters. The dough will have lots of air bubbles because of the yeast.

Gently form the pieces into logs, place it on parchment and flour the tops to prevent sticking. Cover with a damp tea towel.
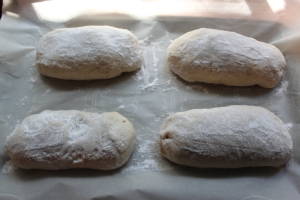
Let it rest for another 2-3 hours.

When you are ready to bake, score the tops of loaves.

Bake the loaf for 10 minutes at 450F and then for 30 minutes at 400F.


The result is a lovely crusty bread!!

http://www.virtuousbread.com/how-to-make-bread/recipies/millet-bread/
Rye sourdough bread with white wheat and scalded millet flour
The night before you want to bake combine:
200 g millet flour
600 g boiling water
Stir well, cover and leave.
At the same time, refresh a rye sourdough starter in a big mixing bowl:
30 g rye sourdough starter
500 g strong white wheat flour
250 g water
To bake:
Add the scalded millet to the refreshed rye sourdough starter. Add in:
80 g honey
1 tsp of freshly grated nutmeg
500 g strong white wheat flour
Knead well for 10 minutes, adjusting the water content if necessary. Your dough will be sticky and you want it that way.
Add 25 g salt and knead for another 5 minutes.
Put the dough in a big bowl, cover it and let it rest over night in the fridge.
Turn the dough out onto a well floured board and divide it into 4 pieces. With floury hands and a scraper, pull each piece gently out into a square about 8 10 inches long and then fold it up in thirds as if you were going to put a piece of A4 into an envelope.
Gently pull each loose folded square onto a baking tray that you have lined with non stick baking parchment. Sprinkle to tops liberally with flour or semolina and cover with a dry tea towel.
Let rest for 2-3 hours. They will grow by 1.5 times and when you press them the dough will spring back.
Preheat the oven to 230 C/450 F and when it is up to temperature, take the tea towel off and pop the baking tray in.
Bake for 10 minutes at 230 and then lower the heat to 200 C/400 F and bake for a further 30 minutes.
Check out other recipes on our blog https://eatitnoworeatitlater.com/recipe-list/


I know this is an old post – but did you use a standard rye sourdough culture or did you make your culture with Kombucha, like in another of your blog posts?
Thanks
I know this is an old post but I’m wondering did you use a normal rye sourdough culture to make his bread or one made with Kombucha, like in your other blog post?
Thanks
Hi Ben, I used regular sourdough starter for this recipe but I’m sure either would work.